Remote Ollama setup running CodeLlama and Web UI
A high-level overview of how to set up ollama run codellama:7b and front it with the Open WebUI.
Ollma is an powerful open source tool for running LLMs locally. It can be used to run various models and comes handy when you are looking for a local solution to run LLMs.
Open WebUI is a self hosted solution to front Ollama with a user interface that allows you to interact with the models. It provides a simple and intuitive interface for running LLMs, making it easy to test and experiment with different models.
In this post, we’ll walk through the steps to set up Ollama with Code Llama and front it with the Open WebUI.
Setup
We will be using a Ubuntu 24.04.2 LTS server for this setup. The steps should be similar for other distributions, but some commands may vary.
Ollama Installation
To install Ollama, refer to the installation instructions on their website. The installation process is straightforward and should only take a few minutes.
curl -fsSL https://ollama.com/install.sh | sh
Once done, try to run the following command to verify the installation:
ollama run codellama:7b
WebUI Installation
There are two ways to install the Open WebUI. You can either use Docker or install it directly on your system. We will be using the Docker method for this setup.
sudo docker run -d --network=host -v ollama-webui:/app/backend/data -e ENABLE_WEBSOCKET_SUPPORT=True -e OLLAMA_API_BASE_URL=http://127.0.0.1:11434/api --name ollama-webui --restart always ghcr.io/open-webui/open-webui:main
A few things to note here:
- The
--network=hostoption allows the container to use the host’s network stack, which is required for the WebUI to communicate with the Ollama API. - A named volume
ollama-webuiis mapped to the container to retain relevant data across container restarts.
Wait for a couple of seconds after running the command to let the container warm up and be in healthy state.
SSL Offloading and Reverse Proxy
The instructions are similar to the ones mentioned in this post. On a high level, this includes:
- Setting up required apache2 modules.
- Certbot setup and certificate request from LetsEncrypt.
- Reverse Proxy setup to OpenWebUI to allow traffic.
# update indices
sudo apt update

# install apache
sudo apt install apache2
# check status
sudo systemctl status apache2

sudo apt install certbot
sudo apt install python3-certbot-apache

sudo a2enmod ssl
sudo a2enmod proxy
sudo a2enmod proxy_balancer
sudo a2enmod proxy_http
sudo a2enmod headers

# restart apache
sudo systemctl restart apache2
Follow the instructions mentioned on the page to install certificate from LetsEncrypt.
Reverse Proxy Using Apache2
Assuming a single domain mapped to the host, edit /etc/apache2/sites-available/000-default.conf to include the reverse proxy details:
<VirtualHost *:80>
    ServerName your-domain.com
    Redirect permanent / https://your-domain.com/
</VirtualHost>

<VirtualHost *:443>
    ServerName your-domain.com

    SSLEngine on
    SSLCertificateFile /etc/letsencrypt/live/your-domain.com/fullchain.pem
    SSLCertificateKeyFile /etc/letsencrypt/live/your-domain.com/privkey.pem
    SSLCertificateChainFile /etc/letsencrypt/live/your-domain.com/chain.pem

    # Proxy settings
    ProxyPass / http://localhost:8080/ nocanon upgrade=websocket timeout=3600
    ProxyPassReverse / http://localhost:8080/
    ProxyPreserveHost On

    AllowEncodedSlashes NoDecode
    RequestHeader set "X-Real-IP" expr=%{REMOTE_ADDR}
    RequestHeader set "X-Forwarded-For" expr=%{REMOTE_ADDR}
    RequestHeader set "X-Forwarded-Port" expr=%{SERVER_PORT}
    RequestHeader set "X-Forwarded-Proto" expr=%{REQUEST_SCHEME}
    RequestHeader set "X-Forwarded-Ssl" expr=%{HTTPS}
</VirtualHost>
This should allow inbound requests to be served by the Open WebUI container mapped to the host network.
Configuring Connection Details
Navigate to your-domain.com and you should be able to setup your admin account when logging in for the first time. If there are no available models, check the connection details under Admin Settings.
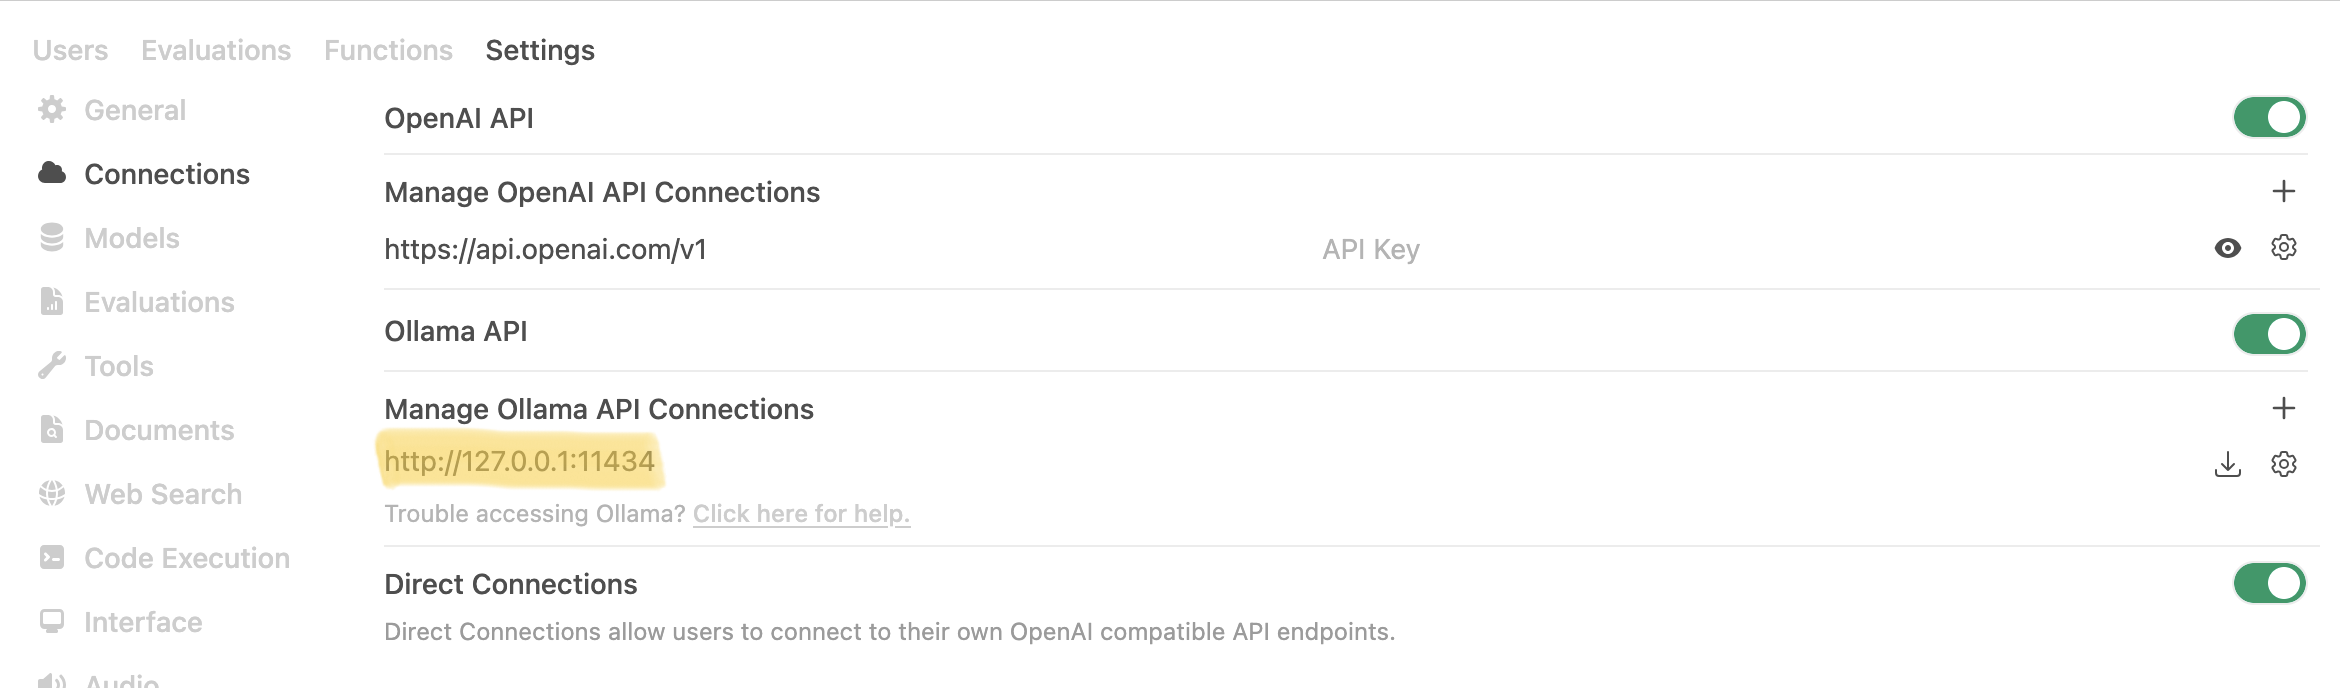
ollama
Now if you navigate back to chats section, you should be able to select a model to interact with.
That is all for this post. If you want to share any feedback, please drop me an email, or contact me on any social platforms. I’ll try to respond at the earliest. Also, please consider subscribing feed for regular updates.