OpenGrok setup for code analysis
How to set up an OpenGrok docker container to search and analyze the code base?
When GrepCode went out of service a couple of years back, there were not many options available at the time. But things have changed for the better, and various alternatives (both freeware and paid) are available now, like krugle, sourcegraph, TextSherlock, to name a few. However, most available tools are either too basic or expensive for individual use.
OpenGrok is one such option. I started using OpenGrok sometime back to browse through JDK code. It provides a similar experience of “reading” the code in an IDE but does not require the hassle of running the build pipelines to resolve all the dependency issues - to get the linking working. The time saved can be crucial if one quickly wants to understand the context (for any project) amidst some production issue.
In addition to displaying the formatted code in a browser window, it helps us to navigate it easily by providing and linking references. It is like GrepCode on Steroids.
Features
Here is a complete list of its features. On a high level, it provides:
- Browser-based interface with online cross-reference and syntax high lighting.
- Support for various programming languages.
- Out-of-the-box integration with various SCM tools like GIT, SVN, etc., with the ability to sync repositories to include changes in the background.
- Ability to manually trigger the reindexing process.
- Full-text search is available with a selective scope.
Containerized setup
It is very easy to set up a containerized OpenGrok instance. We’ll use the official image as a base image with a couple of minor changes for the purpose:
# base image
FROM opengrok/docker:1.12

# label
LABEL maintainer=sumit@jvmaware.com

# add safe repo as otherwise it fails with message:
# fatal: detected dubious ownership in repository at '/opengrok/src/java/jdk'
RUN git config --global --add safe.directory /opengrok/src/java/openjdk-latest

# expose the UI and REST ports
EXPOSE 8080 5000
Once the image is available after executing docker build -t opengrok:custom . we use the same to start the container via the following docker-compose file using: docker compose up -d:
version: "3"

# https://hub.docker.com/r/opengrok/docker/
services:
  opengrok:
    container_name: opengrok
    image: opengrok:custom
    ports:
      - "127.0.0.1:8091:8080/tcp"
      - "127.0.0.1:5000:5000/tcp" # TCP port where simple REST app listens for GET requests on /reindex to trigger manual reindex.
    environment:
      # required for issue error: git-remote-https died of signal 4
      # https://askubuntu.com/a/1425180
      # did not work from Dockerfile somehow
      GNUTLS_CPUID_OVERRIDE: "0x1"
      # Period of automatic synchronization (i.e. mirroring + reindexing) in minutes.
      # Setting to 0 will disable periodic syncing
      # the sync after container startup will still be done.
      SYNC_PERIOD_MINUTES: '0'
      # To avoid the mirroring step, set the variable to non-empty value.
      NOMIRROR: '1'
    volumes:
       - '/opt/app/opengrok/repos/:/opengrok/src/'
       - '/opt/app/opengrok/etc/:/opengrok/etc/'
       - '/opt/app/opengrok/data/:/opengrok/data/'
As containers are ephermal in nature, we need to ensure that the data and other resources survive container restarts. For this purpose, we have mapped three volumes to the OpenGrok container:
src: contains the source code to be analysed.etc: contains the runtime configurations.data: index and other details for the analysed code.
Auto Sync
The auto sync feature allows OpenGrok to monitor a remote repository for changes. Based on the SYNC_PERIOD_MINUTES attribute, it will run a sync job to update the repo contents. But as mentioned in the config above, we can turn off this automatic refresh using SYNC_PERIOD_MINUTES: '0'
Manual ReIndex
Now that we have turned off the auto-sync feature, we can manually update the repos and instruct the OpenGrok container to re-index the contents. For this purpose, OpenGrok provides an API available at 5000 port or the customized value for REST_PORT
To trigger the re-index, trigger the endpoint using curl from the host machine: curl http://127.0.0.1:5000/reindex
Startup
Once started, it takes some time for the index generation to complete. But in the subsequent runs, it only parses the delta and is much faster in comparison.
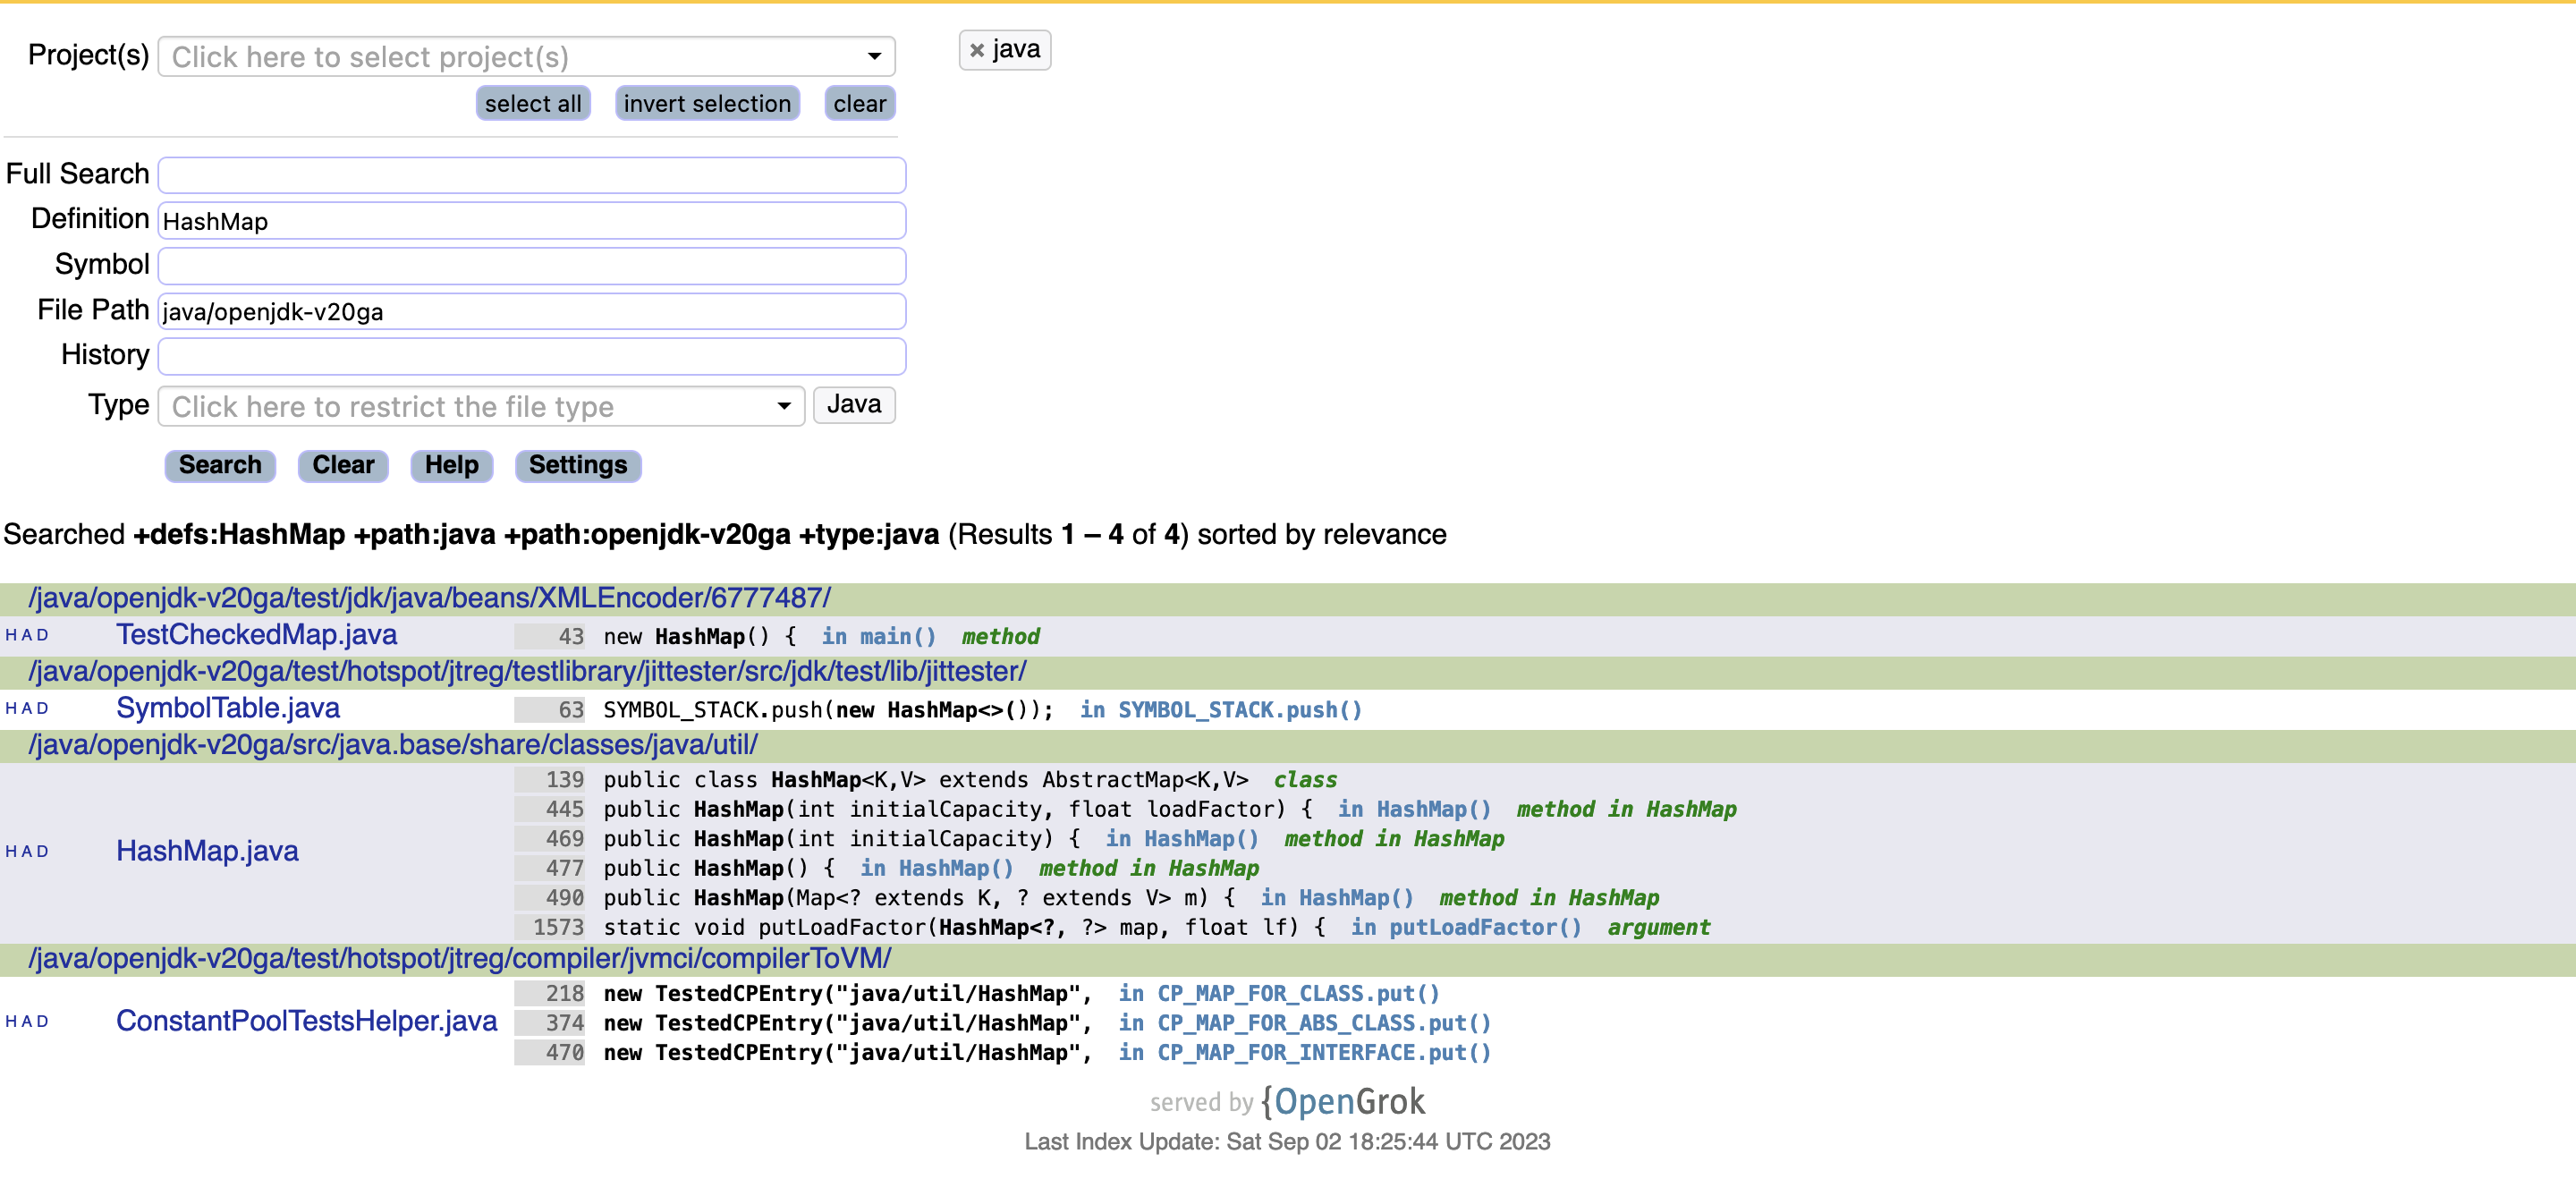
Once done, the web UI can be accessed on the http://localhost:8091 endpoint. The UI provides a basic interface to search and navigate through the code.
That is all for this post. If you want to share any feedback, please drop me an email, or contact me on any social platforms. I’ll try to respond at the earliest. Also, please consider subscribing feed for regular updates.